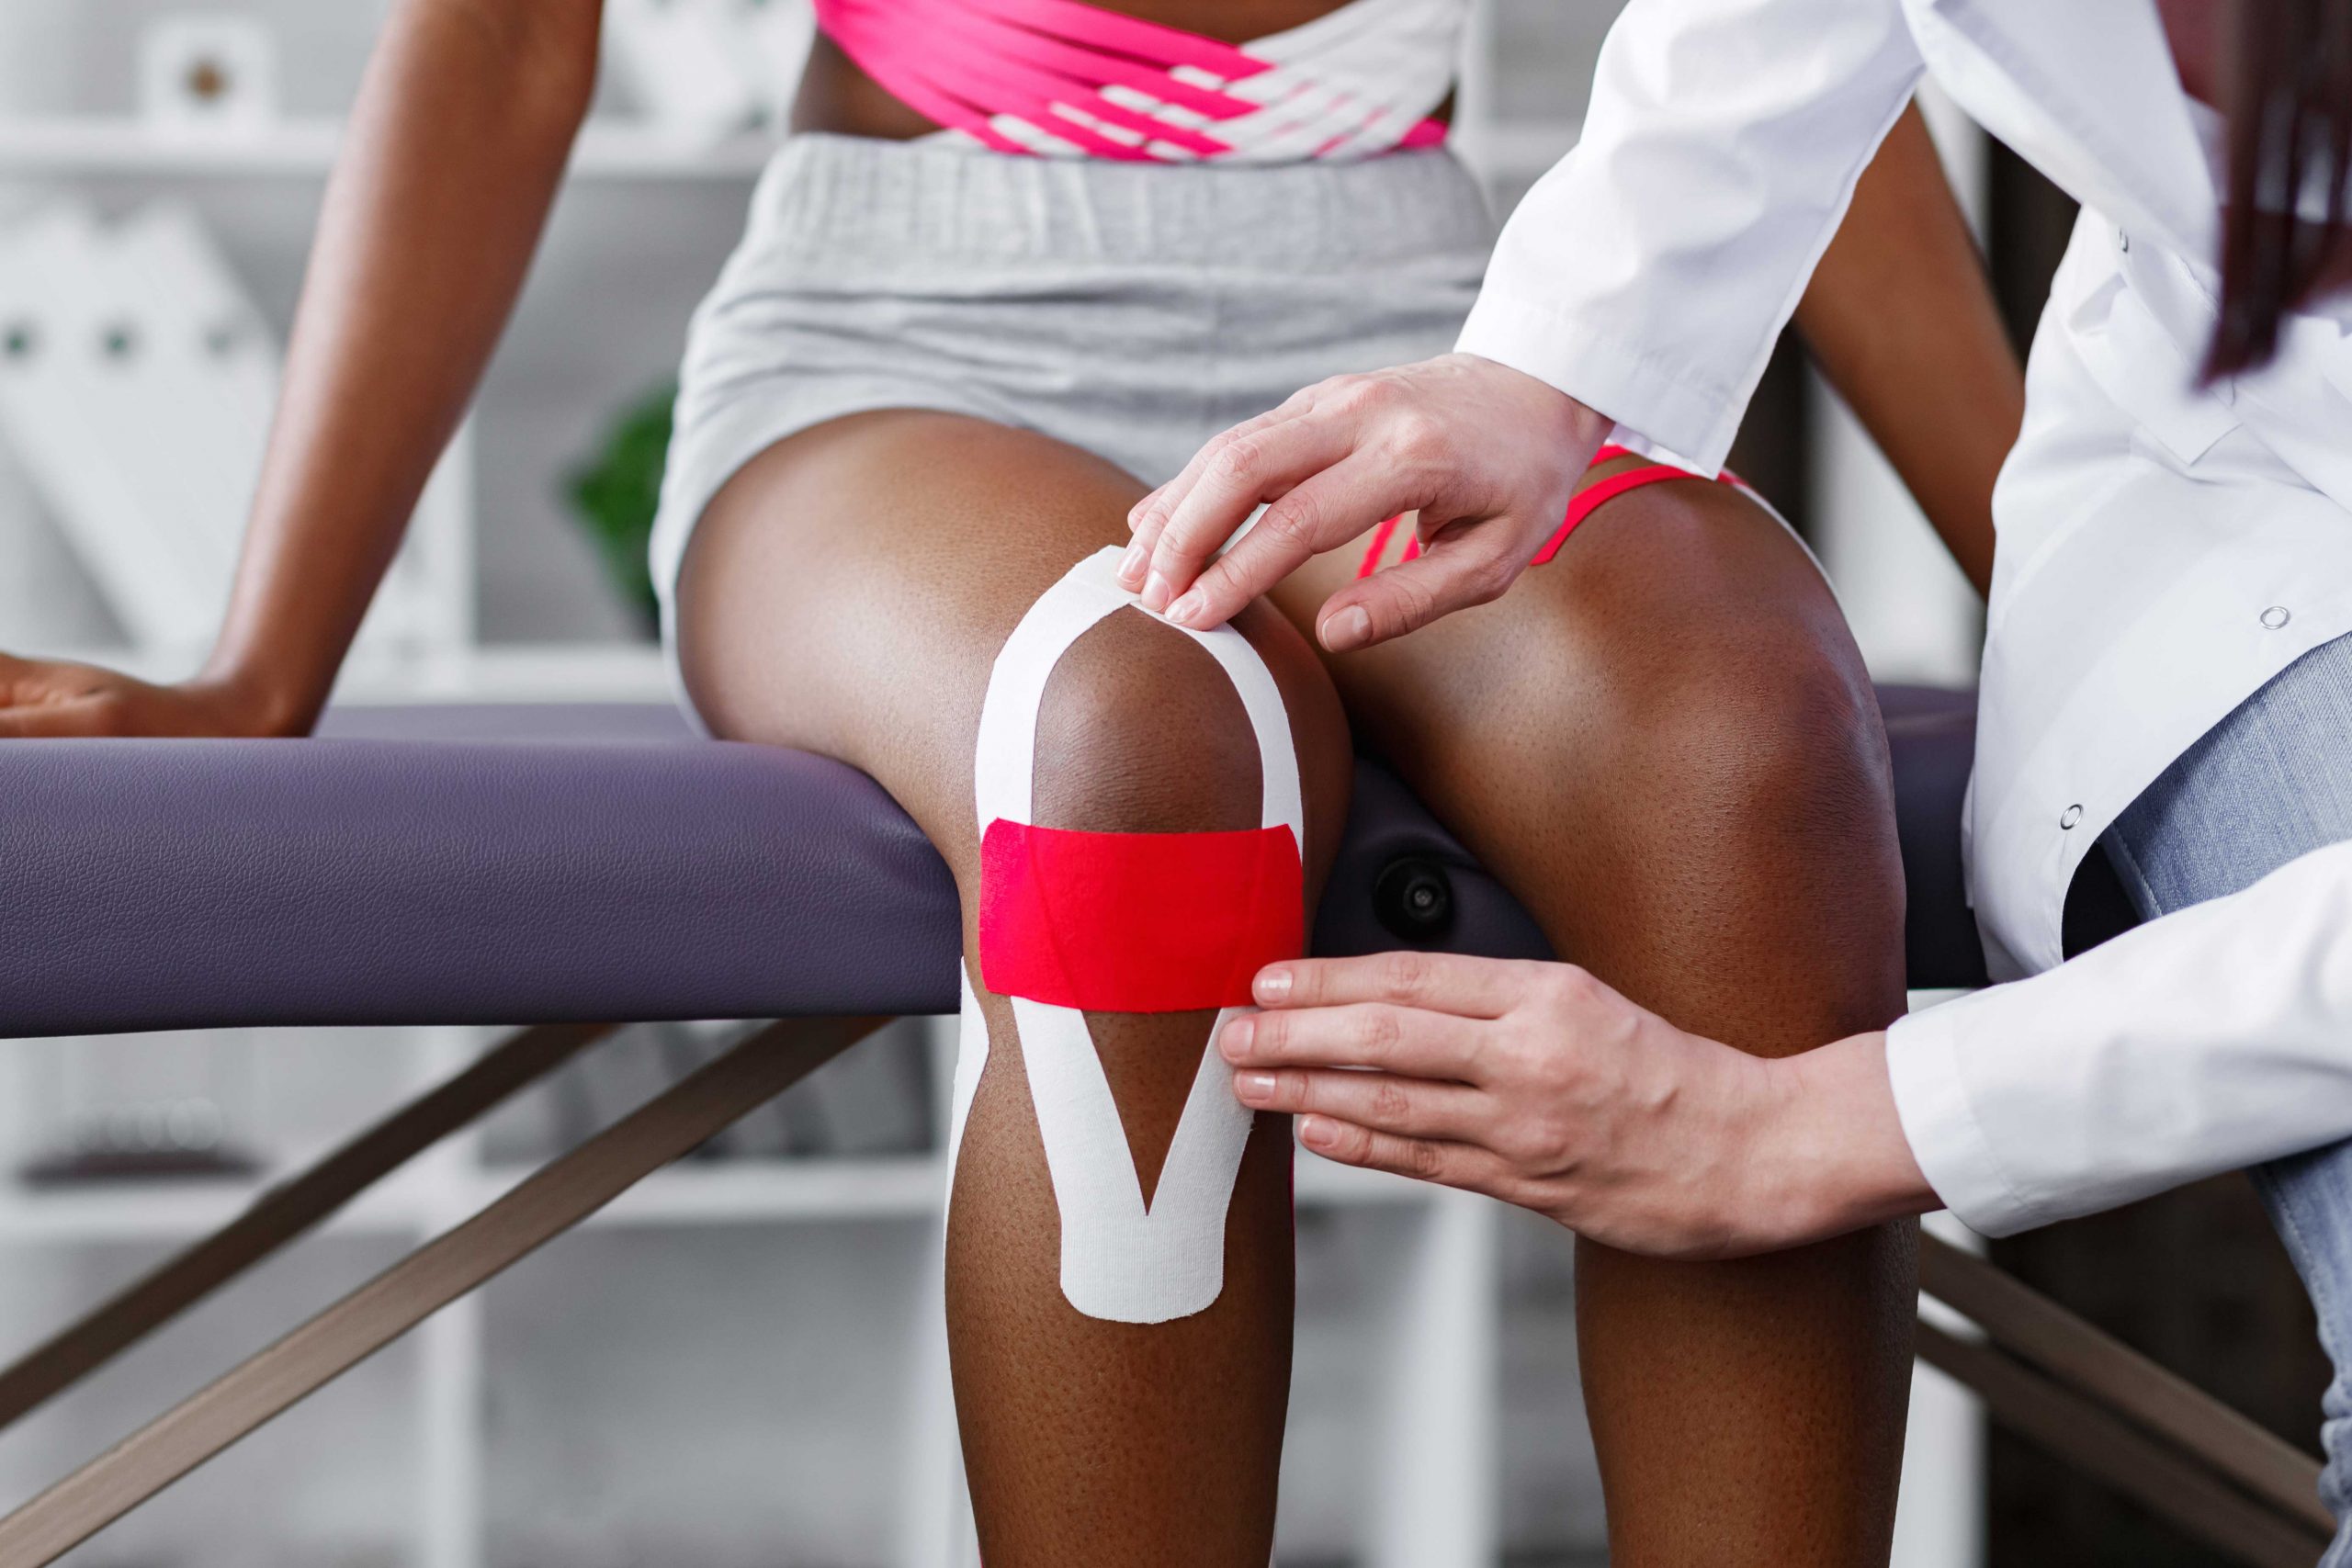
Create Bold and Italics Text in Photoshop 5This tutorial discusses how to create a bold font or an italics font in Adobe 5.0. 1. In Photoshop, select File/New. Create your text using the Type tool. Right Mouse click (Windows) or Control+ Mouse Click (Mac) and select Render Text.
2.Make sure that your foreground color is the same as your type color. Select Edit/Stroke, and use a Width of one pixel and a setting of Center (as seen in the second example, above). To achieve a bolder look, create the text but adjust the tracking in the text dialog box in order to give a little extra space between the letters. Then apply Edit/Stroke, and use a Width of two pixels and a setting of Outside (as seen in the third "Bolder Text" example, above).
3.Select Image/Mode/Indexed and save this as a gif file if you'll be using this for the web. Remember, even though this technique is demonstrated with type, you could also use this effect on clip art, line art, or a logo. This tutorial outlines a simple way to create an italic font in Adobe Photoshop 5.0 1. In Photoshop, select File/New.
Create your text using the Type tool.
![]() 2. Select the layer that the type is on. Select Edit/Transform/Numeric. In the Skew section of the dialog box, enter -15. If you want to make the font tilt less, put in a smaller number. If you want the font to lean more, put in a larger number, like -30.
3. Select Image/Mode/Indexed and save this as a gif file if you'll be using this for the web. |